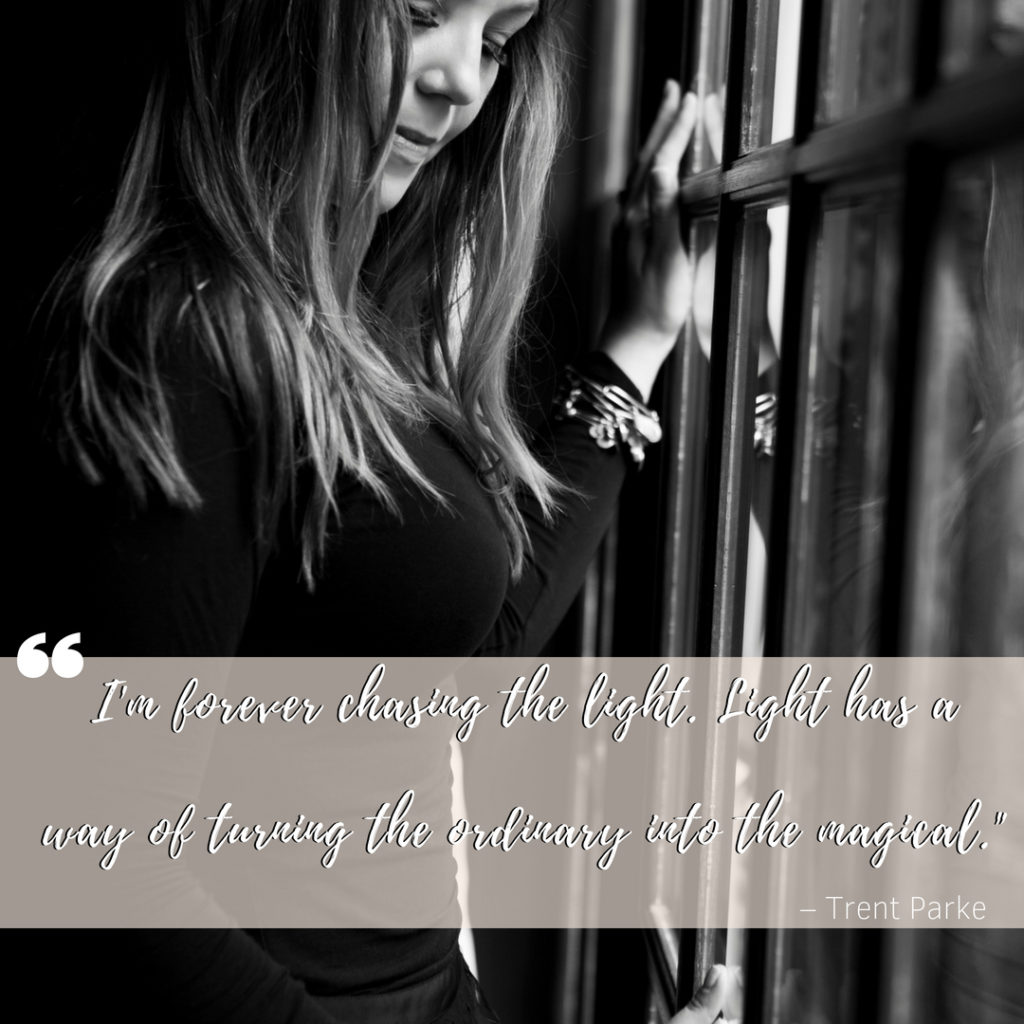
I once read somewhere that Mariah Carey designed her home to have all lighting at eye level as to avoid harsh, unflattering shadows being cast on her face from overhead lighting.
She would have absolute heart failure walking into my home with something insane like 50+ high-hat lights (which she’s called “abusive”) spread throughout every room.
Now, I know. The idea of banning overhead lighting in your home has diva written allllll over it, but lighting is incredibly powerful when you want to look better in pictures (magic hour is called magic hour for a reason).

So what about us regular peeps who want to avoid being tagged in unflattering photos on social media but can’t walk around with Mariah Carey lighting 24/7? (You guys, but imagine if you we could!?!?)
What can we do to look better in pictures?
The good news? There are many other (more realistic) ways to be photo-ready and “social media-taggable” (can I trademark that?) without controlling the light and declining invitations to parties with overhead lights. Things like posing and the right makeup can also play a big role in looking better in photos.
The best news? I have some awesome tips from beauty bloggers, makeup artists and professional photographers that will have you looking camera-ready at every occasion.
How To Be Photo Ready & Look Better In Pictures

1. Always face the light– natural light whenever possible.
Since we already discussed the pitfalls of overhead lights, I wanted to follow it up by saying–always face the light. My ring light is my bff when shooting in the house but natural light is always the best light. The best lit photos are always when the sun/light is behind the camera. The best time for this is usually early morning or late afternoon. Full sun in the middle of the day can be just as harsh as those overhead lights– and cause serious squinting. For outdoor photos mid-day, look to stand in a shaded area.– Me 😉
2. Avoid make-up with silica and SPF when taking photos with flash
There is nothing worse than feeling like your makeup is slaying, only to take take a photo with flash and find yourself looking like Casper. It’s called flash-back and the struggle as they say, is real. When you know there’s a possibility of taking photos in a low light, avoid products with silica (different than silicone) and SPF like the plague and always use an HD Powder.
I personally love the NYX Professional Studio HD Powder and the NYX Total Control Drop Foundation– both under $20!
3. Use matte finish bronzer to contour a full face, double chin, or crooked nose
Matte powder that is slightly darker than your natural shade sculpts like a chisel when placed beneath cheekbones, under the jaw line or on the sides of your nose. –Dimitri James, celebrity makeup artist
4. Buy a concealer pot two shades lighter than your skin tone
After applying your foundation and finishing powder gently, pat the concealer under your eyes in a crescent moon shape and above your eyebrows, from the top center tip to the end tip. This will highlight your eyes so they’re the focus of the photo. –Lindsi Lane, Lindsi in the Fast Lane founder
5. If it’s a full-length shot, place your hands on your hips, but not evenly
Have one hand higher on one hip and the other hand resting a bit lower so you don’t look boxy. –Hope Henderson, creator of the Beauty Mark app
6. For a photo-ready, no-makeup-makeup look, skip the blush
Instead, contour cheekbones with a powder bronzer, then hit the apples of the cheeks with a highlighting powder. –Shelley GoodStein, model and blogger (A Model’s Secrets)
7. Fake lashes and eyeliner are the keys to popping those eyes
Using an angled liner brush, apply a powder to the upper waterline, or inner rim. This defines the eye without closing it in. To boost lashes, apply short-strip lashes. Top them off with a little mascara, and you are good to go. –Erica Maniscalco, New York makeup artist
8. To avoid a gummy smile, place the tip of your tongue on the roof of your mouth
This tip keeps you from smiling too wide. Works every time! –Elke Von Freudengerg, New York makeup artist
9. Avoid shimmery eye shadows
Keep it reserved to the lid, and use a matte shadow from the crease to the brow bone. –Jessica Metivier, beauty expert on America Now
20. Tame flyaways with hairspray and a toothbrush
Make sure your hair looks smooth before taking a picture. To manage flyaways, spray a light-hold hairspray on a toothbrush and gently brush them down. – Julia Papworth, celebrity makeup artist


.jpg?resize=1200%2C630&ssl=1)